I find myself frequenting the craft store WAY too much now. It is starting to be one of my favorite stores! A couple weeks ago Joann's had a great sale and all Cricut supplies were 50% off!!! So I sure stocked up!! I bought the printable vinyl. I decided I wanted to use this to make a decal for my Macbook Air. From start to finish this should take about 30 minutes. So here are the step by step instructions of how to make your very own! Let's get started!!
The first thing you are going to want to do is decide what kind of design you want on your decal. I chose do print large black polka dots with a couple gold hearts scattered. If you want the same design click here.
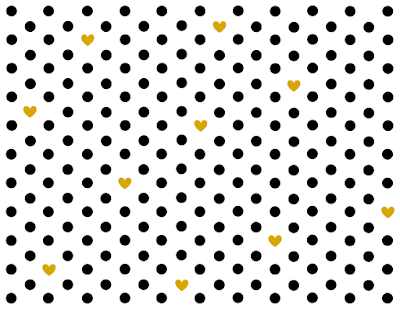
Now, Cricut Design Space does not allow you to print borderless. This image is going to be 10.5 inches wide so I need to print the image on my printable vinyl first before I cut. I loaded the printable vinyl into my printer and printed the image above borderless.
After the image is printed on the printable vinyl I uploaded the Macbook Keyboard image into Cricut Design Space. I created my own .png file to fit the Macbook Air keyboard. It can be downloaded here (this is the same link as listed under materials needed). This image will be uploaded as a simple image.
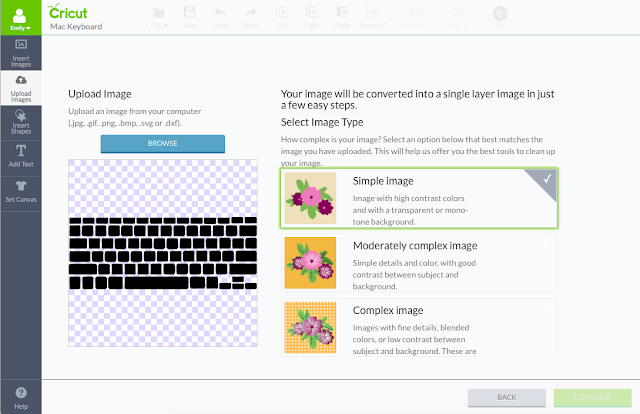
The next step is resizing the image. On the right hand side under the "edit" tab change the width to 10.6 inches. This is the measurement I used on mine. The height should automatically change to 4.06 inches.
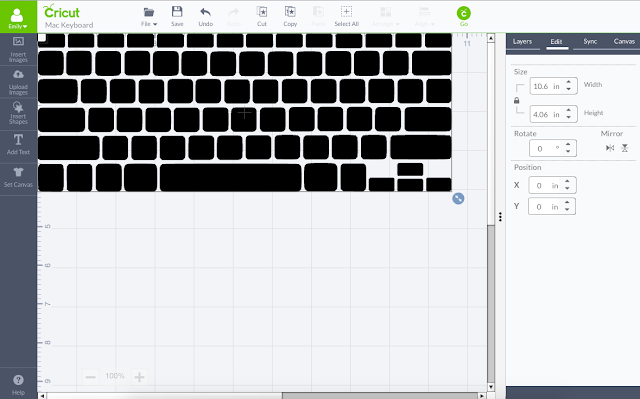
Once I have my keyboard all ready with the size I need, I am ready to cut. I placed my printable vinyl side ways on the mat so I could get the heart right in the middle of where my space bar was going to be cut out. In the picture below, you can see how I laid the vinyl on the mat.
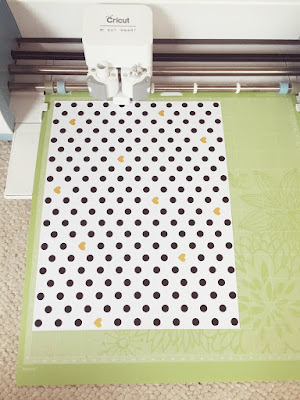
When I went to cut my image I turned the image side ways as well.
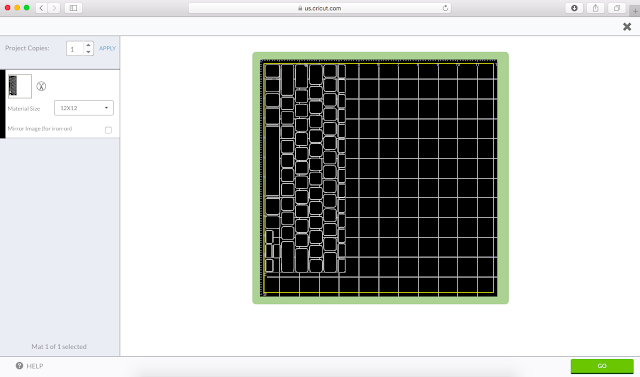
Make sure to set your cut setting to "printable vinyl" and you are ready to go! After it was all cut out it took a couple minutes to peel and stick the keys onto to the computer and then I was done! Now, I could have added text to each individual key and had the Cricut use the pen option to write on the vinyl, but I chose to turn on the back light on the keyboard and it is bright enough to where I can see the letters through the vinyl.
Here is how mine turned out! I seriously LOVE the polka dots and the few hearts on their. I think it gives my computer a nice personal touch. Gotta loving adding some style to your computer!

Have fun making your very own keyboard decal!

Next project: Lucky sign
Materials needed:
*Cricut
*Cricut mat
The first thing you are going to want to do is decide what kind of design you want on your decal. I chose do print large black polka dots with a couple gold hearts scattered. If you want the same design click here.

Now, Cricut Design Space does not allow you to print borderless. This image is going to be 10.5 inches wide so I need to print the image on my printable vinyl first before I cut. I loaded the printable vinyl into my printer and printed the image above borderless.
After the image is printed on the printable vinyl I uploaded the Macbook Keyboard image into Cricut Design Space. I created my own .png file to fit the Macbook Air keyboard. It can be downloaded here (this is the same link as listed under materials needed). This image will be uploaded as a simple image.

The next step is resizing the image. On the right hand side under the "edit" tab change the width to 10.6 inches. This is the measurement I used on mine. The height should automatically change to 4.06 inches.

Once I have my keyboard all ready with the size I need, I am ready to cut. I placed my printable vinyl side ways on the mat so I could get the heart right in the middle of where my space bar was going to be cut out. In the picture below, you can see how I laid the vinyl on the mat.

When I went to cut my image I turned the image side ways as well.

Make sure to set your cut setting to "printable vinyl" and you are ready to go! After it was all cut out it took a couple minutes to peel and stick the keys onto to the computer and then I was done! Now, I could have added text to each individual key and had the Cricut use the pen option to write on the vinyl, but I chose to turn on the back light on the keyboard and it is bright enough to where I can see the letters through the vinyl.
Here is how mine turned out! I seriously LOVE the polka dots and the few hearts on their. I think it gives my computer a nice personal touch. Gotta loving adding some style to your computer!

Have fun making your very own keyboard decal!

Next project: Lucky sign


